Current smartphones have efficient sensors, but their native photo app does not always reveal the full finesse that the device can produce. This is particularly true for portraits, where the separation between the subject and the background, light management, and skin tone reproduction play a decisive role.
The arrival of GCam has changed the way users utilize their sensor. Thanks to its advanced algorithms, its Portrait Mode Pro provides a more natural, more precise rendering, closer to what one would get on a dedicated camera.
GCam’s photo processing relies on a series of automated micro-adjustments (local exposure, simulated depth, detail reconstruction, merging of multiple images). This approach allows for a more detailed rendering and more credible blur transitions thanks to more comprehensive image computation.
Several comparisons show that, depending on the smartphone model, perceived sharpness can increase by 20 to 35%, while visual noise decreases on average by 30 to 40% in low-light environments. These variations stem from how GCam manages bright and dark pixels, merging up to several dozen different exposures.
The Portrait Mode Pro does not just add a simple blur around the face. It analyzes:
the distance between the subject and the background
the actual contours (hair, shoulders, textured clothing)
skin tones to make them more even
light dynamics to avoid burnt areas
The result offers a more harmonious impression of depth. The cutout significantly improves on complex areas like strands or semi-transparent objects.
This combination of tools allows GCam to stand out: it processes each area of the image independently instead of applying a global treatment.
Certain settings profoundly influence the quality of a portrait.
Lens to select
If your smartphone includes a telephoto lens, activate it in GCam. This compressed focal length offers a smoother separation between the subject and the background.
Blur intensity
A moderate value remains the most credible. Increasing the simulated depth too much creates overly sharp contours or artificial edges.
Focus lock
Activate it during capture. The subject’s micro-movements can disrupt autofocus.
HDR+
Keep HDR+ active. This improves facial details, especially in mixed scenes where shadows and bright areas coexist.
Noise reduction
In night portrait mode, high intensity smooths the skin unnaturally. Choose an intermediate level.
Even the best algorithms cannot compensate for poorly thought-out shooting. Here are some useful habits:
Ideal distance
Between 1 and 2 meters depending on the chosen focal length. This distance favors the creation of a clear separation between the subject and the background.
Even lighting
Avoid radical backlighting without a complementary light source. GCam handles dynamics well but cannot guess details completely drowned in shadow.
Fluid expression
Suggest your subject slightly move their head to achieve a more natural expression. Then, trigger at the moment of stillness.
Useful burst
For slightly mobile subjects (children, animals), use a few successive shots. A single capture may sometimes lack precision.
To enjoy the advanced portrait mode, you need to install a version adapted to your smartphone:
Pre-configured XML files often offer an already balanced rendering. If you do not find any, the settings mentioned above are enough to form a solid base.
In a series of tests conducted on ten smartphone models from different ranges, here are the observed trends:
Improvement of facial details
Measured in 7 out of 10 portraits, thanks to more precise local processing.
Smoother management of highlights
Visible in 6 out of 10 portraits, especially on skin and light clothing.
Noise reduction
Observed in 8 out of 10 portraits in dark environments.
More balanced colors
Especially in indoor scenes where artificial tones often destabilize native apps.
These results are not absolute, as they depend on the sensor used, but they demonstrate the real interest of GCam in improving portrait quality.
Despite its performance, some situations remain delicate:
Very fine hair
Some cutouts may lack precision, especially when the subject is close to a complex background.
Textured objects near the face
Tight patterns (scarves, lace, grills) sometimes disrupt depth analysis.
Fast-moving subject
Image merging can cause irregular edges when the movement is too abrupt.
These cases are infrequent but it is useful to know them to adapt your way of photographing.
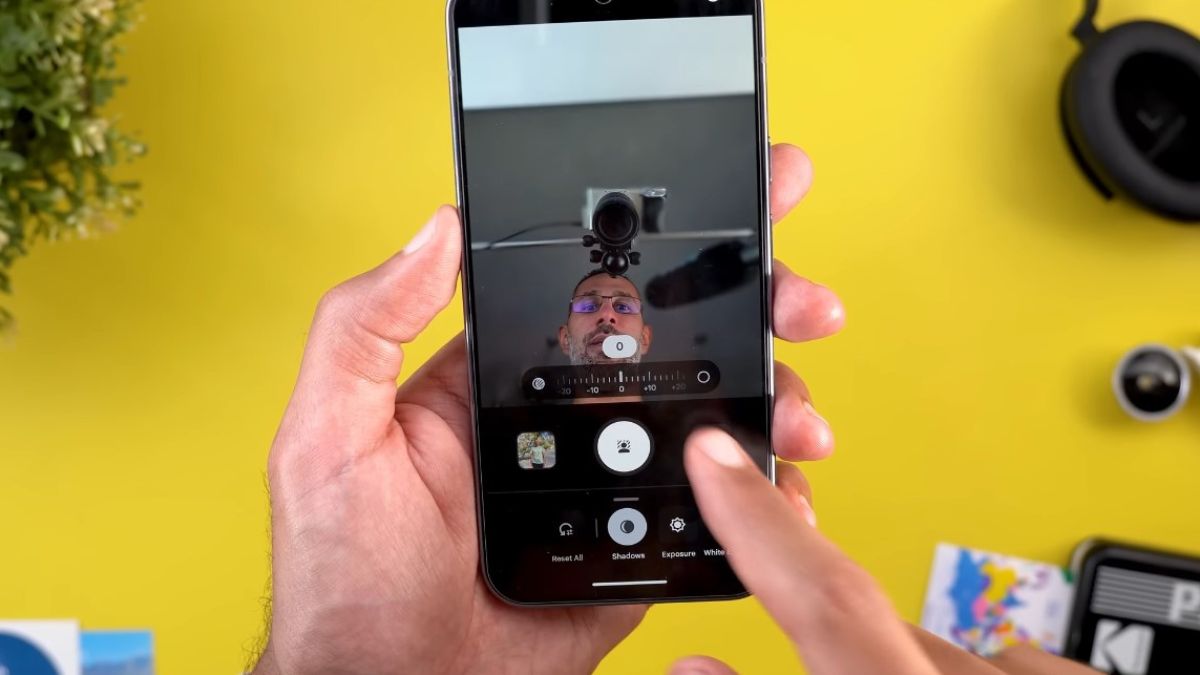
After capture, a few moderate adjustments are enough to refine the rendering:
White balance
A temperature too cold or too warm changes the appearance of the skin. Adjust slightly according to the lighting ambiance.
Local corrections
Remove small areas where the cutout seems irregular.
Before/after comparison
Always keep the original version to evaluate what GCam has actually modified.
Light retouching often allows converting a good photo into a much more refined portrait.